
Pretzel Salad
Remember the last time you brought a dish to a gathering and watched it disappear before dessert? There’s magic in recipes that blend nostalgia with crowd-pleasing flavors. This timeless layered treat crunchy, creamy, and bursting with fruity freshness does exactly that. It’s the kind of dessert that sparks conversations and leaves guests asking, “How did you make this?”
What makes this dish special isn’t just its irresistible sweet-and-salty contrast or eye-catching layers. It’s how effortlessly it comes together with basic items from your pantry. You’ll layer buttery crushed snacks, a velvety cream cheese filling, and a jewel-toned gelatin topping that shimmers like summer. No fancy tools or hard-to-find components just pure, nostalgic delight.
Perfect for potlucks or backyard barbecues, this recipe thrives on simplicity. The hardest part? Waiting for it to set. But trust us the moment you slice into those crisp, creamy, and fruity layers, you’ll understand why generations of home cooks swear by it. Ready to create a dessert that tastes like a celebration in every bite?
Table of Contents
Introduction: The Allure of This Classic Dessert
Imagine serving a dessert that instantly transports guests to backyard barbecues and family reunions of decades past. This layered marvel isn’t just food it’s edible nostalgia. Its magic lies in contrasting textures and flavors that create harmony in every spoonful.
Flavors That Spark Joy
You’ll adore how each layer plays its part. A salty-sweet crust crunches beneath velvety cream cheese filling, while fruity gelatin adds a juicy finish. It’s like three desserts in one, yet surprisingly simple to make.
| Retro Element | Modern Appeal | Key Benefit |
|---|---|---|
| Gelatin base | Make-ahead convenience | Saves time |
| Cream cheese layer | Rich texture contrast | Crowd-pleaser |
| Crunchy crust | Unexpected savory note | Balances sweetness |
Timeless Charm
Born in the 1960s when gelatin dishes ruled party tables, this dessert proves good ideas never fade. Families still gather around its shimmering layers today, just as they did when bell-bottoms were trendy. The best part? You can prepare it hours before serving ideal for stress-free entertaining.
Whether you’re reliving childhood memories or discovering it for the first time, this treat bridges generations. Its staying power comes from pure deliciousness, wrapped in a package that says “home” louder than any vintage recipe card.
Ingredients Overview and Their Roles
What do crunchy, creamy, and fruity have in common? They’re the three pillars holding up this iconic dessert. Each component brings unique qualities that transform basic items into something extraordinary. Let’s break down why these elements matter.

Best Pretzel Salad Recipe Using Simple Ingredients
Course: DessertCuisine: American10
servings25
minutes10
minutes280
kcal🍓 Layered Strawberry Pretzel Dessert-Ingredients
🥨 2½ cups salted pretzels (crushed)
🧈 ¾ cup unsalted butter (melted)
🍬 3 tablespoons sugar
🧀 8 oz cream cheese (softened)
🍬 ½ cup sugar
🍦 8 oz whipped topping (like Cool Whip or True Whip)
🍓 6 oz strawberry gelatin (Jell-O)
💧 2 cups boiling water
❄️ 1 package frozen sliced strawberries
Steps
- Prepare the Pretzel Crust
- Make the Cream Cheese Layer
- Create the Jello Layer
Essential Crunch and Richness
Small salted twists form the base layer’s backbone. Their size ensures even crushing, while the salt cuts through sweetness. Combined with melted butter, they create a crust that’s sturdy yet tender like the best cookie you’ve ever had.
Pro tip: Measure whole pieces before crushing. This guarantees the right ratio of buttery binder to crispy bits. Too little butter? Your crust crumbles. Too much? It becomes greasy.
Creamy Center & Vibrant Finish
Softened cream cheese blends seamlessly with sugar, creating a velvety barrier between layers. This middle section does heavy lifting it’s sweet enough to satisfy but tangy enough to balance the fruity top.
The gelatin layer isn’t just pretty. It locks in freshness and adds a jiggly texture contrast. Opt for name-brand strawberry gelatin if possible its bold color and flavor elevate the entire dish.
| Ingredient | Function | Pro Tip |
|---|---|---|
| Salted twists | Salty foundation | Crush while fresh for maximum crispness |
| Unsalted butter | Binds crust | Melt slowly to prevent burning |
| Cream cheese | Tangy separator | Bring to room temperature first |
Read also: sugar-free desserts for diabetics you can make at home

Best sugar free desserts for diabetics you can make at home
Step-by-Step Preparation Process
Discover how simple pantry staples can come together to create a dessert everyone will love. The key to success? Perfecting the base and the filling. Follow these steps to craft your treat with confidence and ease

Preparing the Crust
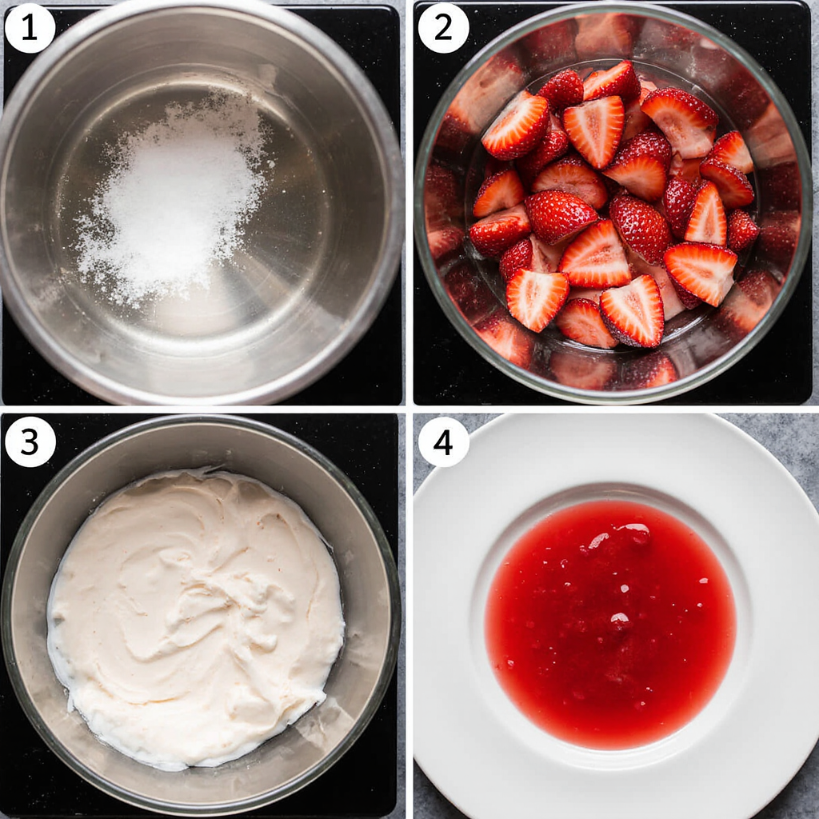
Start by preheating your oven to 350°F. Place 2½ cups of salted twists in a heavy-duty bag and crush them with a rolling pin. Aim for pea-sized pieces this creates texture without turning them into dust. Mix the crushed pretzels with melted butter & sugar until every piece glistens.
Firmly press the mixture into the bottom of your baking dish, using a flat-bottomed cup to ensure an even layer. Bake for exactly 10 minutes any longer may cause the crust to burn. Set it aside to cool completely before moving on to the next layer.

Creating a Fluffy Cream Cheese Mixture
Beat the softened cream cheese and sugar on medium-high speed for 5 minutes, until the mixture becomes pale and fluffy. This step adds air for a light, cloud-like texture. Gently fold in the whipped topping with a silicone spatula, being careful not to deflate the mixture. Pro tip: Scrape down the sides of the bowl frequently to avoid lumps.
Spread this velvety blend over your cooled crust, sealing the edges tightly. Chill it while prepping the final layer. Timing matters here rush these steps, and your layers might slide instead of stack.
Layering Techniques for a Perfect Presentation
The secret to a showstopping dessert lies in how you assemble its components. Proper technique ensures each bite delivers the ideal mix of textures while keeping layers distinct. Master these methods, and your creation will look as good as it tastes.
Sealing Success with the Cream Layer
Your cream cheese layer acts as both flavor bridge and moisture barrier. Spread it edge-to-edge using an offset spatula, pressing gently to eliminate air pockets. This tight seal prevents the jiggly topping from sabotaging your crunchy foundation.
Chill the dish for 30-60 minutes before adding the final layer. This cooling period lets the cheese layer firm up, creating a stable base. Rushing this step risks blurred lines between sections.
| Tool | Purpose | Pro Tip |
|---|---|---|
| Offset spatula | Smooth application | Dip in warm water for streak-free finish |
| Measuring cups | Portion control | Use dry measures for crust ingredients |
| Timer | Chilling precision | Set alerts for each cooling phase |
Notice how clean layers showcase contrasting colors when sliced? That visual pop comes from meticulous sealing. A perfectly set cream layer also supports neat serving portions no crumbling or sliding.
Remember: Complete coverage matters most. Check the dish’s corners and edges twice before refrigerating. Those extra seconds guarantee every mouthful delivers the promised crunch-creamy-jelly harmony.
Mastering the Jello and Strawberry Topping
The final layer transforms your dessert from good to unforgettable. While it looks simple, achieving that jewel-bright finish requires precision. Nail these steps, and you’ll create a topping that holds its shape while bursting with fruity flavor.

Dissolving Jello Correctly for Optimal Texture
Start by combining one 6-ounce gelatin packet with 2 cups of boiling water. Stir vigorously for two full minutes; no granules should remain. This step ensures a smooth base that sets properly. Let the mixture cool to room temperature; pouring it hot could ruin your creamy middle layer.
Frozen sliced strawberries work better than fresh here. They chill the liquid quickly, helping it thicken faster. Gently fold them into the cooled gelatin to keep pieces intact. Even distribution means every slice gets plenty of fruit.
Pour slowly from one corner, letting the topping spread naturally. Chill for at least two hours, though overnight yields sharper layers. Patience pays off with clean cuts that showcase each distinct texture.
Customizations and Recipe Variations
Transform the traditional into something uniquely yours with simple tweaks. Whether adapting to dietary needs or experimenting with flavors, this dessert welcomes creativity while keeping its signature charm intact.
Swapping Whipped Toppings
Cool Whip works best for maintaining texture over time. Its stabilized formula keeps layers distinct for days. For a natural alternative, try True Whip or homemade whipped cream. Beat 1 cup heavy cream until stiff peaks form, then blend with your cream cheese mixture.
Note: Fresh whipped cream requires extra sugar add ⅔ cup to balance tartness. Chill thoroughly to prevent crust softening.
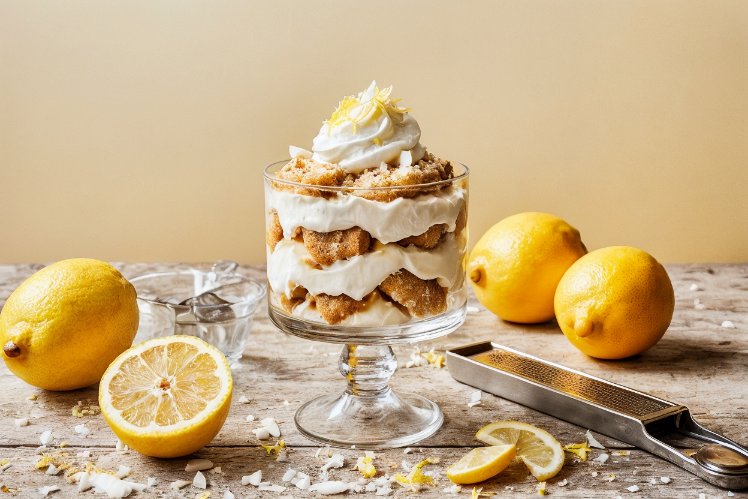
Fruit Flavor Explorations
Swap fruits and gelatin flavors for seasonal twists. Raspberry pairs beautifully with tart lemon layers. Peaches add summer sweetness, while pineapple brings tropical vibes. Match fruit to corresponding gelatin colors for visual impact.
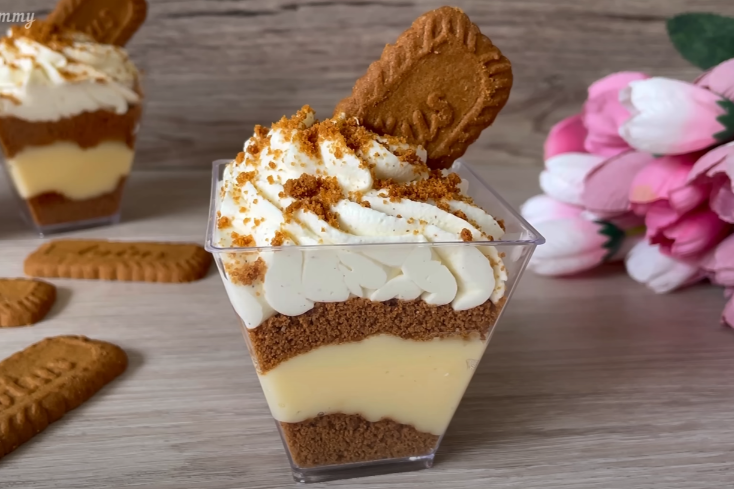
Serve individual portions in mason jars for picnics. The portable format lets guests enjoy every layer without fuss. Your personalized take might just become the new classic.


Leave a Reply